Underdeck Installation Process
Underdeck installation, such as the RainAway system (based in Atlanta), is a process that allows you to transform the space under an elevated deck into a functional, dry, and attractive area. This section will outline the step-by-step process involved in installing an underdeck system, including planning, material selection, and overcoming potential challenges.
Planning and Design: The first step in underdeck installation is careful planning and design. We will assess the area under your deck to determine the size, shape, and layout of the underdeck system. We will consider factors such as the slope of the deck, the location of support posts, and any existing structures or obstacles that may affect the installation process. This stage may also involve obtaining any necessary permits or approvals from local authorities.
Material Selection: Selecting the right materials is crucial for a successful underdeck installation. For RainAway systems, you will typically require specialized underdeck panels, guttering components, support brackets, and fasteners. The underdeck panels should be durable, weather-resistant, and capable of channeling water away effectively. Additionally, you may choose to incorporate other elements such as lighting fixtures, ceiling fans, or decorative finishes.
Preparation: Before the installation process begins, it is important to prepare the deck and the area underneath. Clear any debris, furniture, or other items from the deck. Clean the deck surface thoroughly to ensure a clean and smooth installation. This is also a good time to inspect the deck for any repairs or maintenance that may be needed before proceeding.
Installing Support Brackets: Support brackets are essential for attaching the underdeck panels to the joists of the deck above. They create the framework for the system and ensure stability. We will measure and mark the location of each support bracket according to your design plan. We will install the brackets securely using appropriate screws or fasteners, ensuring they are level and properly aligned.
Installing Underdeck Panels: With the support brackets in place, it’s time to install the underdeck panels. These panels are typically interlocking or overlapping, allowing for water drainage while providing a seamless appearance. We will start at one end of the deck and work our way across, attaching each panel securely to the support brackets. We will trim the panels as necessary to fit the dimensions of your deck.
Guttering and Downspouts: To channel water away from the underdeck area, a guttering system must be installed. We will attach the guttering components to the edge of the underdeck panels, ensuring a proper slope for water flow. We will connect downspouts at suitable intervals to direct the water away from the foundation of your home or into a drainage system.
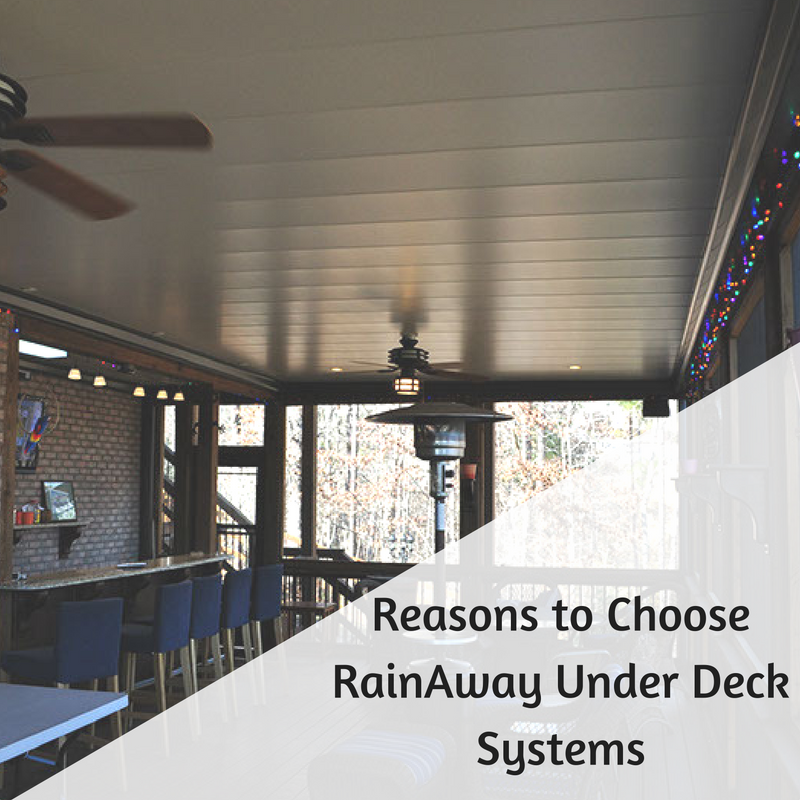
Finishing Touches: Once the underdeck panels and guttering system are in place, it’s time to add any finishing touches. This may involve installing additional features such as lighting, ceiling fans, or decorative trims. We will inspect the entire installation for any adjustments or touch-ups that may be required.
Challenges and Considerations: During the underdeck installation process, we may encounter several challenges. These can include working with complex deck designs, addressing structural issues, adapting to varying deck heights or angles, and ensuring proper water drainage. We will make sure everything is done properly.
In summary, installing an underdeck system, like RainAway, involves careful planning, selecting appropriate materials, and executing each step with precision. By following the step-by-step process and addressing any challenges that arise, we can create a dry and usable space beneath your deck, enhancing the overall functionality and aesthetic appeal of your Atlanta outdoor area.